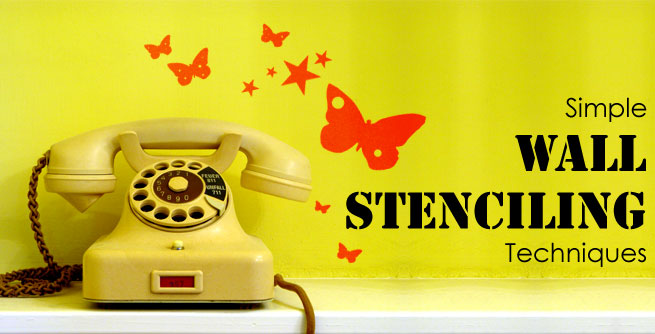
Simple Wall Stenciling Techniques
If you crave a change in your house and has an artistic side which is bursting to get out, wall stenciling might just be the thing for you. Stenciling is a great way to instantly update the look of your home and liven up corners that otherwise look empty and uninteresting.
Before you rush out to a paint store or a DIY shop to get your stencils, consider making your own. It will give you a more unique, personalised result particularly if you draw your own pattern. Otherwise, you can search for designs through art magazines, books and the internet.
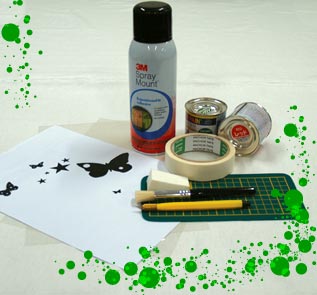
Materials you need
- Sheet of clear plastic (like acetate or oiled stencil)
- Utlity or craft knife
- Cutting mat
- Adhesive
- Fine-tip permanent marker
- Masking tape
- Ruler or tape measure
- Short-bristled stencil brush
- Paper towels and rags
- A pattern
- Paint of choice
Making Your Own Stencil
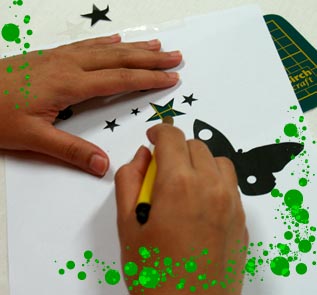
Cut out the stencil. The easiest way to transfer an existing decorative design to stencil material is to photocopy the design, then use the copier to enlarge or reduce it. When designing your stencil, make sure you leave spaces between each open area to create the lines.
If you're using acetate, just tape the acetate to the surface of your photocopy pattern to cut it out. Use your utility knife or craft knife to cut through both layers, then peel off the photocopy.
Tips: Work on a flat cutting surface such as a piece of cardboard.

Stenciling Your Wall
Now you are ready to transfer the design to your wall. Keep in mind that it pays to practise on a board before going to the wall.
Step 1: Prepare the Walls
Your first job is to prepare the walls for stenciling work. It needs to be clean. If not, the wall dirt will bleed through your paint and muddy the colour.
Protect the work area by spraying the adhesive onto the back of the first layer of the stencil against a drop cloth or poster board. Spray adhesive is like tape; it holds the stencil in place, but allows it to peel off easily when done. Put the stencil in the desired position on the wall.
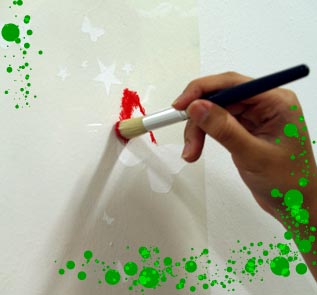
Step 2: Applying Paint
Less paint is more in stenciling, so barely graze the top of the brush over the surface of the yellow paint (artist acrylic provides more coverage than regular paint), and brush off the excess onto a rag. The small amount of paint, along with a dabbing motion around the edges, helps alleviate bleeding underneath the stencil.
There's no need to wait for the paint to dry when done; just peel the stencil off carefully. If no paint has seeped underneath, position the stencil elsewhere on the wall and repeat the process. The spray adhesive should stick for two or three uses. Wash both sides of the stencil every few uses to remove paint/adhesive, and dry thoroughly. Repeat until done, and let paint dry thoroughly.
When you are ready, you can move on to stenciling other areas of your home. You can stencil the floor, the ceiling, your furniture, the accessories in the room, curtain and upholstery fabric. The options are endless! Just let your imagination run wild!