
How To Make Your Own Photo Frames
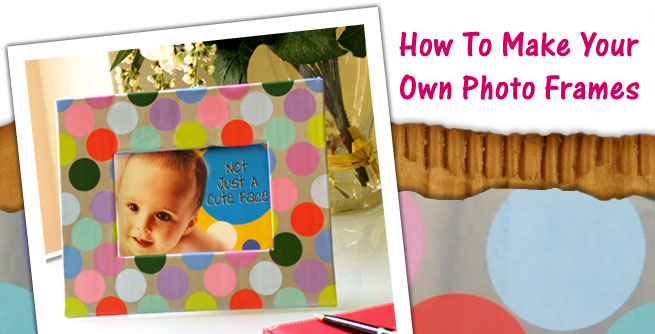
Sometimes it is difficult to find photo frames in unusual sizes as they normally come in standard measurements. With a little ingenuity and some supplies, you can make your own picture frame to fit any picture you might have – at a fraction of the cost! Here's a DIY that's real simple.
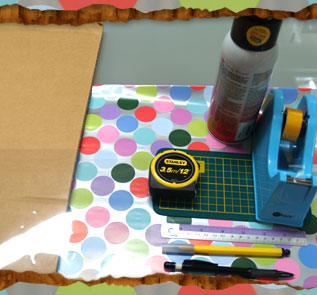
Materials you need
- Cardboard
- Clear plastic
- Hobby knife
- Measuring tape
- Ruler
- Spray adhesive
- Glue
- Pencil
- Transparent tape
- Other decoration materials of your choice (in this case we're using wrapping paper)
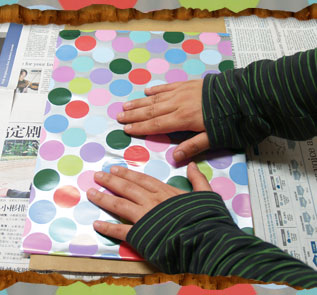
Step One
Spray adhesive evenly over cardboard, wait for 5 seconds then position and lay wrapping paper over the sprayed surface. Gently adjust and smooth out any crease.
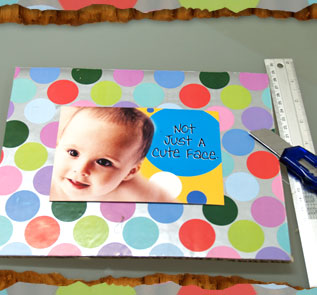
Step Two
Measure the length and width of the picture. Next, measure, mark, and cut out a piece of cardboard that is two inches longer and wider than the measurements of the picture.
Step Three
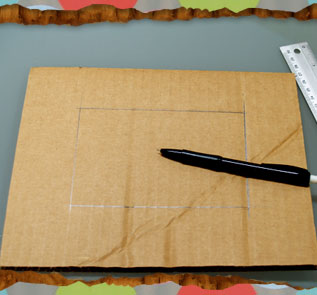
Use a straight ruler to measure in two inches on the sides, top, and bottom of the cardboard piece. Mark the spots by using a pencil. Use the ruler again to draw straight lines across each side at the marks.
Step Four
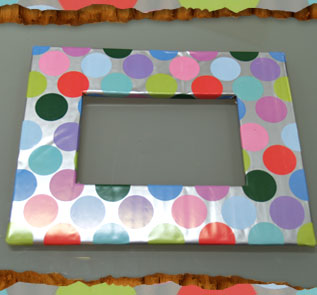
Then use a hobby knife to cut out the inside of the piece of poster board. Now you have the basic picture frame.
Step Five
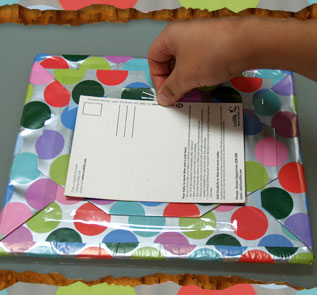
Measure a piece of thin, clear plastic so it's an inch smaller than the basic picture frame. Place the plastic over the hole in the frame and secure it down with some transparent tape. Then position picture on the back of the poster board so it can be seen through the front. Use additional transparent tape to secure it into place.
Step Six
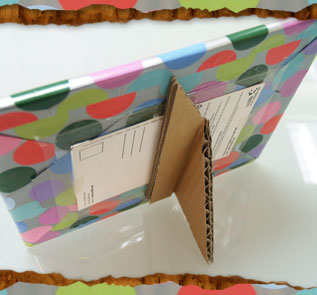
Cut a fairly large triangle - make sure it's a few inches smaller than the frame - out of a piece of rigid cardboard. Fold an inch or so of the wide side over and crease it. Glue the cardboard onto the back of the frame. Bend it over so it makes a stand.
Finish
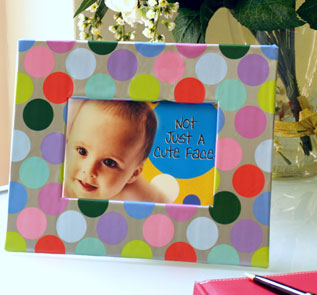
Behold, your very own customised photo frame!
